
There is nothing new here, it has all been invented long ago...
Je ne cherche pas. Je trouve. I do not seek. I find, ...Pablo Picasso
.....bottom.....

Cropping Guides
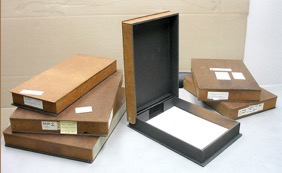
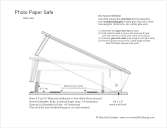
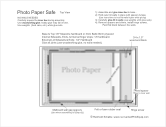
Paper Safes
Ground Glass Covers
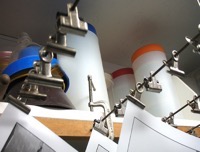
Dedicated Easels

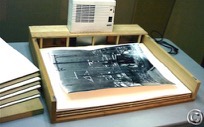
Print Drying Racks
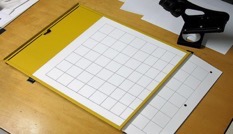
Print Alignment Grid
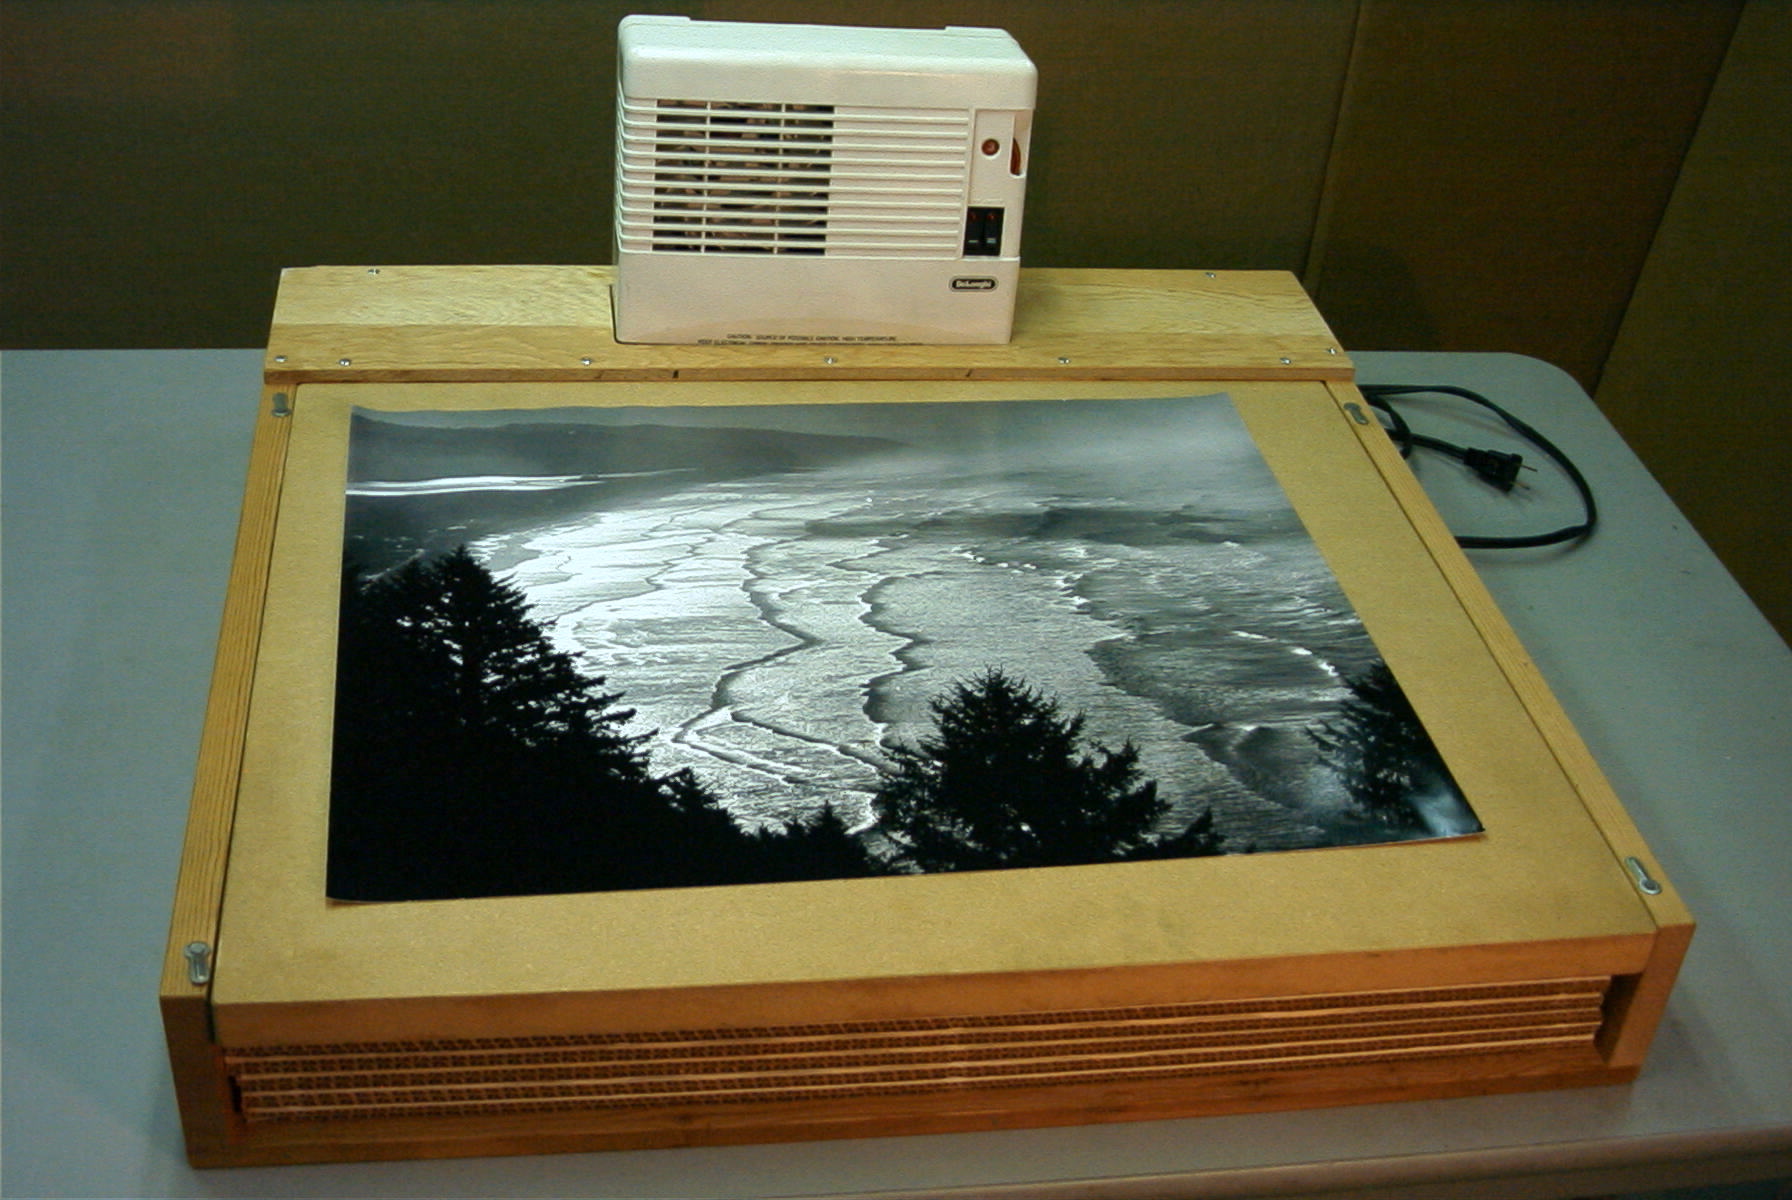
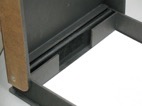
A Print Dryer for fiber base paper
Download plans to make easy-to-open Paper safes of any size.
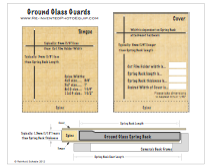
Breaking your cameras ground glass while out in the field is something you will never forget...
Here are some plans to make your own,
A sheet of 1/8” Baltic Birch plywood from Michaels is the start of a custom GG cover...
A production run of several hundred 8x10 RC prints prompted this print drying rack. Some welding rod, a length of 1x2” wood, and a hand drill makes an efficient drying rack. It’s much better than that droopy clothesline everyone else uses.
Drying fiber base photos without severe curl has always been troublesome. After trying all the “great suggestions”. I decided to re-invented Fred Pickers system. More details are on my other website at:


Make your own replicas of the nicest cropping guides I’ve seen. Even better, you can make them for custom print formats. Download the templates here...
Ever make a print with perfect exposure, only to notice that it wasn’t level?
Make some Alignment grids with a Sharpie Pen on blank photo paper
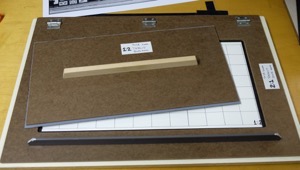
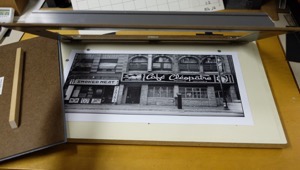
I've been marketing my Photography for 40+ years and found adjustable easels to be clumsy and slow.
Horsing around with a massive 4-blade contraption was too big and interfered with production...
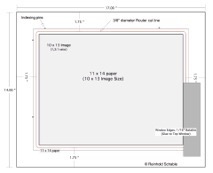
Here's my 2:1 landscape version (1/2 sheet of 16x20 paper, a 1/16" black line and a 1/2" white border).
I’ve made similar easels for 8x10, 11x14, 16x20, & 20x24" paper sizes.
Simple, fast, consistent, compact, and reliable.
Click above for a pdf for an 11x14 version.
The base is 1/2" particleboard, the window mask is 1/8" tempered hardboard.
Some have hinged window masks, some have interchangeable window masks for different border widths.
The Center Mask is 1/16" smaller than the the opening in the window mask.
The paper is indexed against pins along the top and left edge.
To make the black line shift the center mask to one corner and expose one long and one short edge.
Shift it to the opposite corner to expose the opposite edges.
Use a diffused flashlight for exposing the black line.
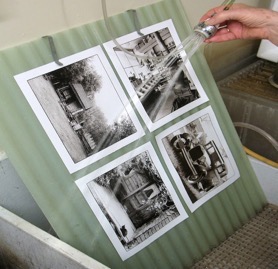
I like to rinse prints between each chemical step to sweep off most of the previous chemistry. About 15~20 seconds rinse front and back makes a big difference in the efficacy of the final wash cycle.
A 3/4” CPVC cap and a few minutes with a 1mm or 3/64” drill bit makes a nice spray head. This head uses 1 litre/15 seconds.
If you're using RC paper, a few minutes of spray rinse front & back can easily meet Ilford's recommended wash time.
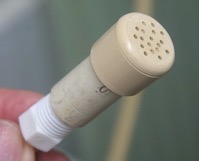
Spray Rinse/Wash Head
Projects For Another Day...
A garage for enlarging Lenses... An oversize print developing tray... Testing enlarger vibration... Reclaiming silver...


Reinhold Schable
Washougal, Washington

WebSite and all content © Reinhold Schable